Revolutionize your Product Photography with Blender.

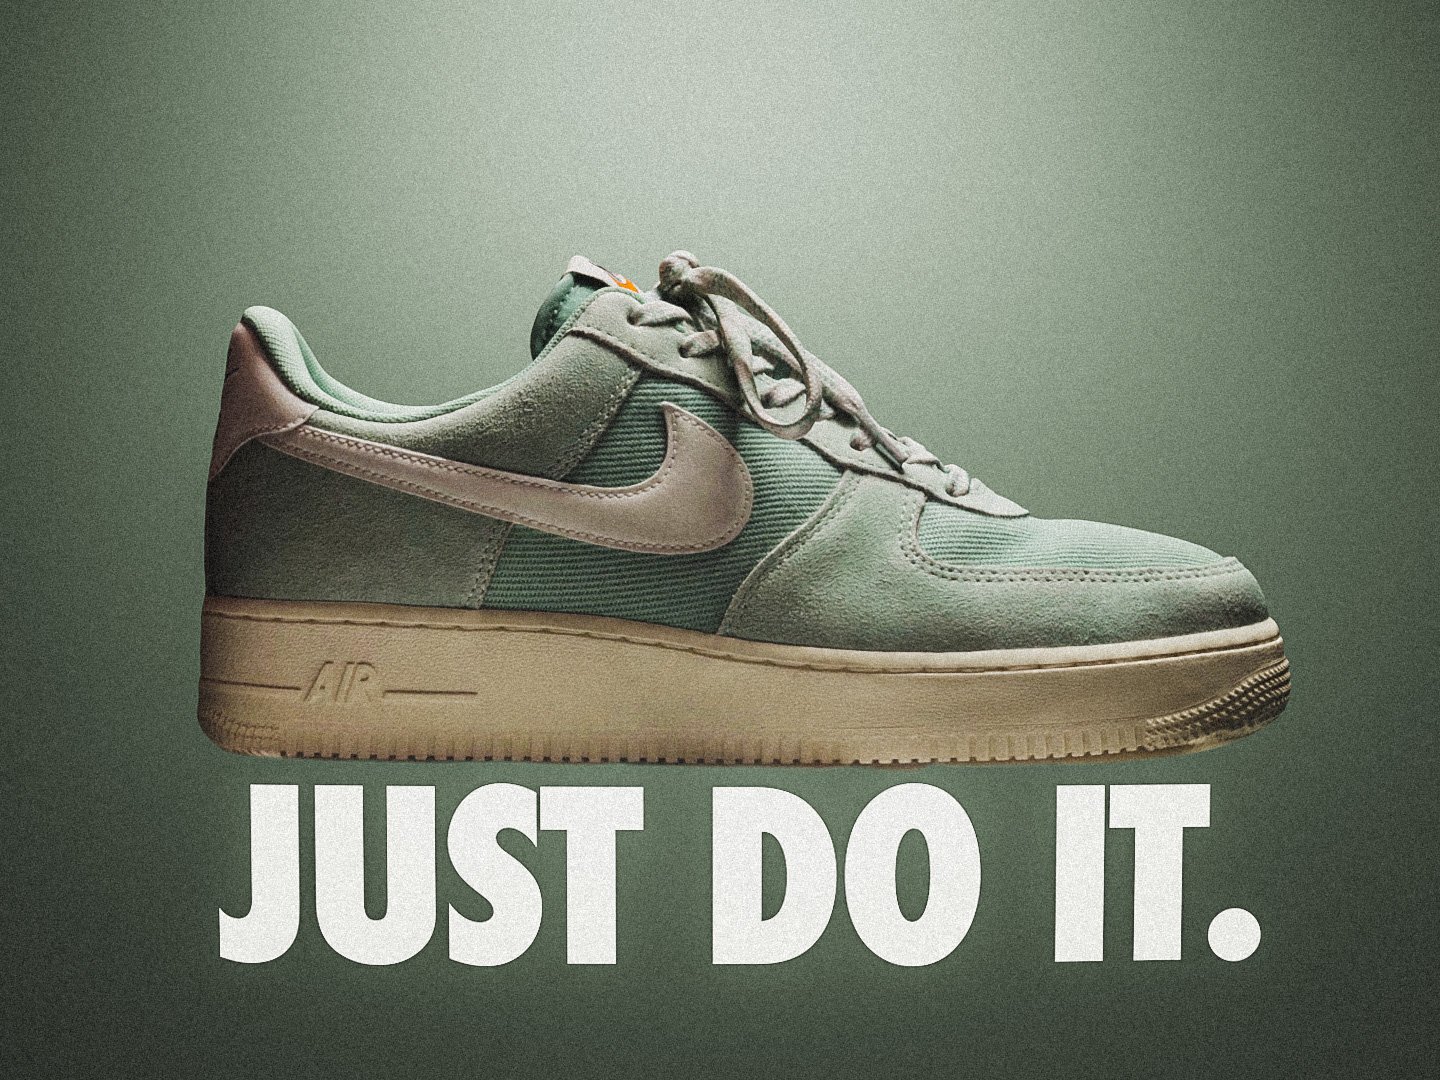
Nike Crater Impact shoe scanned with Polycam and rendered in Blender
As a professional photographer and cinematographer, I'm always on the lookout for ways to improve my skills, and on a recent search, I stumbled upon a tool that has completely changed the game for me when it comes to product photography.
The tool is Blender, a free and open-source software that you can use to create some seriously stunning product photos. The best part? You don't need a deep knowledge of the software to make some amazing visuals. I'll be the first to admit that I'm not an expert in Blender (because I just started learning) but even as a beginner, I was able to make some really cool product photos, and you may ask, “Isn’t Blender made for 3D modeling? What has it got to do with photography?” Well, that’s a great question and the one I’ll be answering!
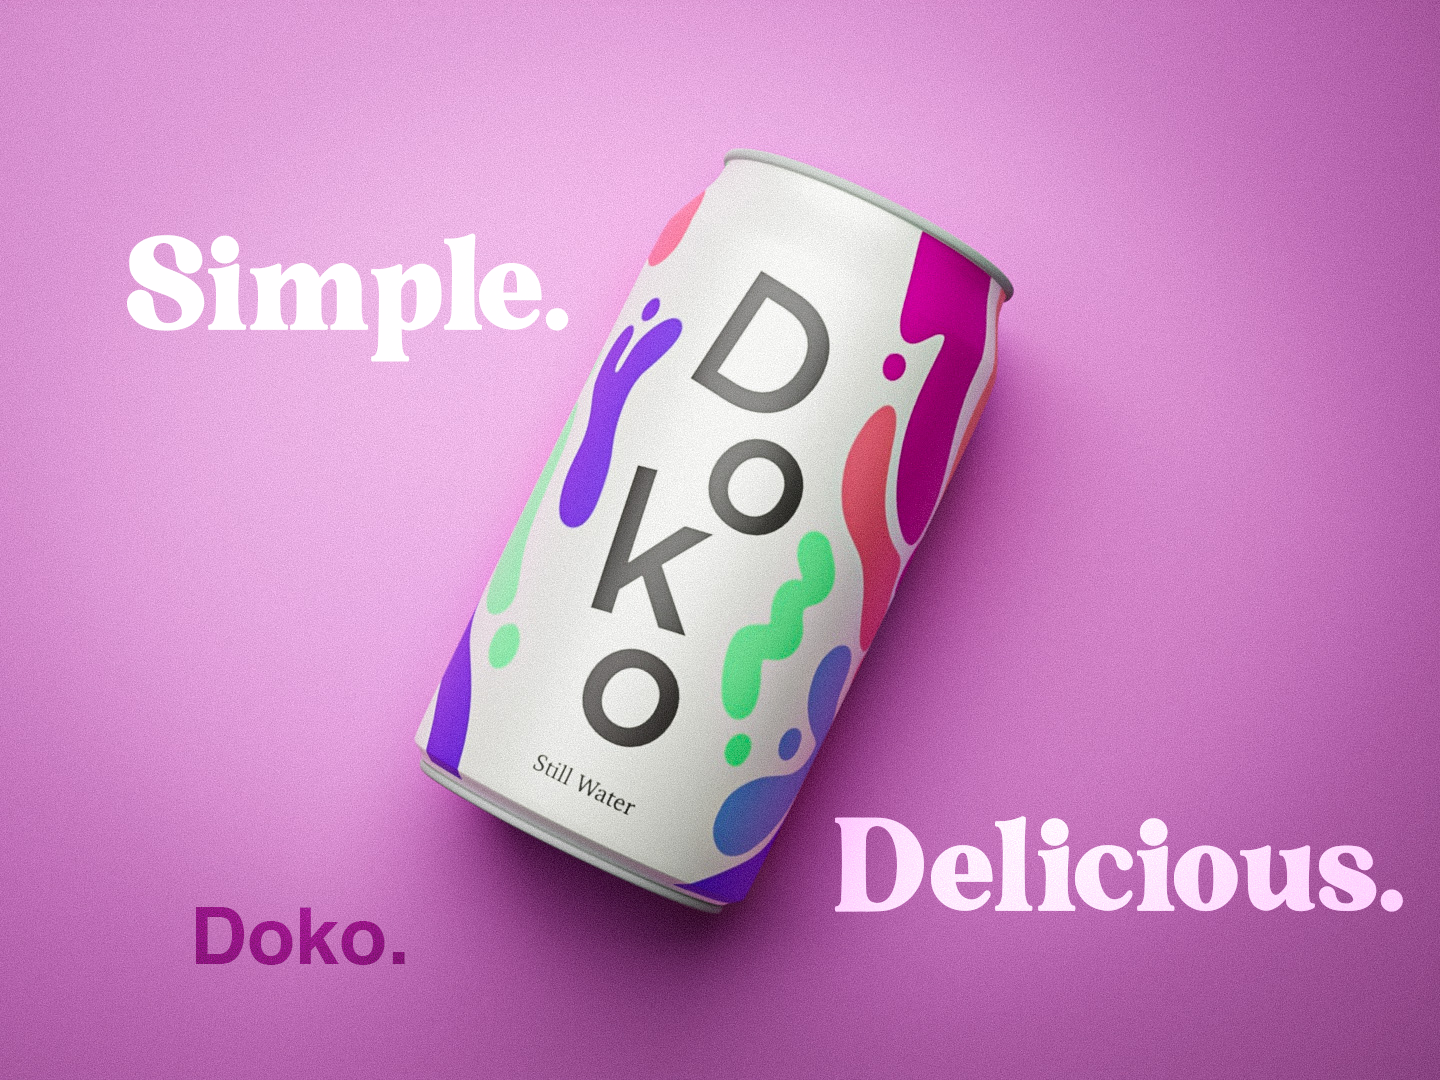
A mock brand created in Procreate and rendered in Blender. The Text was created in Photoshop.
So, what do you need to get started? Firstly, you'll need a decently powerful computer as Blender can be a bit of a resource hog. Secondly, you'll need a product to photograph. If you're like me and love shoes, you can either find a free model online, pay for one, or make your own 3D model using an app like Poly Cam.

The Poly Cam interface allows you to interact with the model, view it in AR, and even export a video orbiting around it.
While Poly Cam is not free, it is worth it in my opinion. It's a fantastic app for photogrammetry and lets you take a bunch of photos of any object and turn them into a 3D model. The downside is you'll have to pay to export anything, but it's around $70 for a year's worth of use.
Once you have those two things, you're pretty much set! You don't need any special lights or an expensive camera as everything you need is built into Blender. It's truly amazing.
Blender uses a rendering engine called “Cycles” to simulate light interactions and provide physically based results. This means that any exports using Cycles end up looking near photo real with very little effort.
Once you understand the basics of the program, Blender can be used to create some stunning product photography, as focal lengths and iris control is accurate to real life.
As you can see I like Nike Shoes.
if you watch the video below I'll also show you how to create a backdrop for your product, and a platform for it to sit on, export it from Blender, and bring it into Photoshop for finishing touches. All in all, Blender is a fantastic tool for product photography and I highly recommend giving it a try. If you're interested in diving deeper, check out Ian Huber's and Blender Guru for more tutorials and tips.
So, let's get started and create some great product photos! Feel free to tag me in any creations you post on social media, just use @robnjk!